In this Purple Primrose project, we'll be using my Doodle of Primroses as a starting point. We'll do the drawing in pencil, go over the pencil lines with a Micron Pen (or any black waterproof pen), and then paint the Primroses in layers of watercolor.
We will be changing this, somewhat -- making it a square format, showing more of the 2nd primrose and more of the leaves, so that it is a radial design.
Prepare your paper, by wetting and stapling it onto a board, or taping it onto the board, or using a watercolor block.
On dry paper, draw a square format, and then draw your design in pencil. After you are satisfied with your drawing, go over the pencil lines with a black WATERPROOF pen (like a Micron, or a very fine Sharpie). Then, erase all the pencil lines that you can still see.
Now, prep two colors for the background -- Cerulean Blue and Aureolin Yellow. (If you don't have Cerulean Blue, use Cobalt Blue. If you don't have Aureolin Yellow, use the coolest yellow you have, like Hansa Yellow or Winsor Yellow.) Wet just the background -- everything except the two blossoms -- with clear water. Then drop/stroke in your two colors. Let the two colors mix on the page a little, without too much help from you and your brush. Allow this to dry completely.

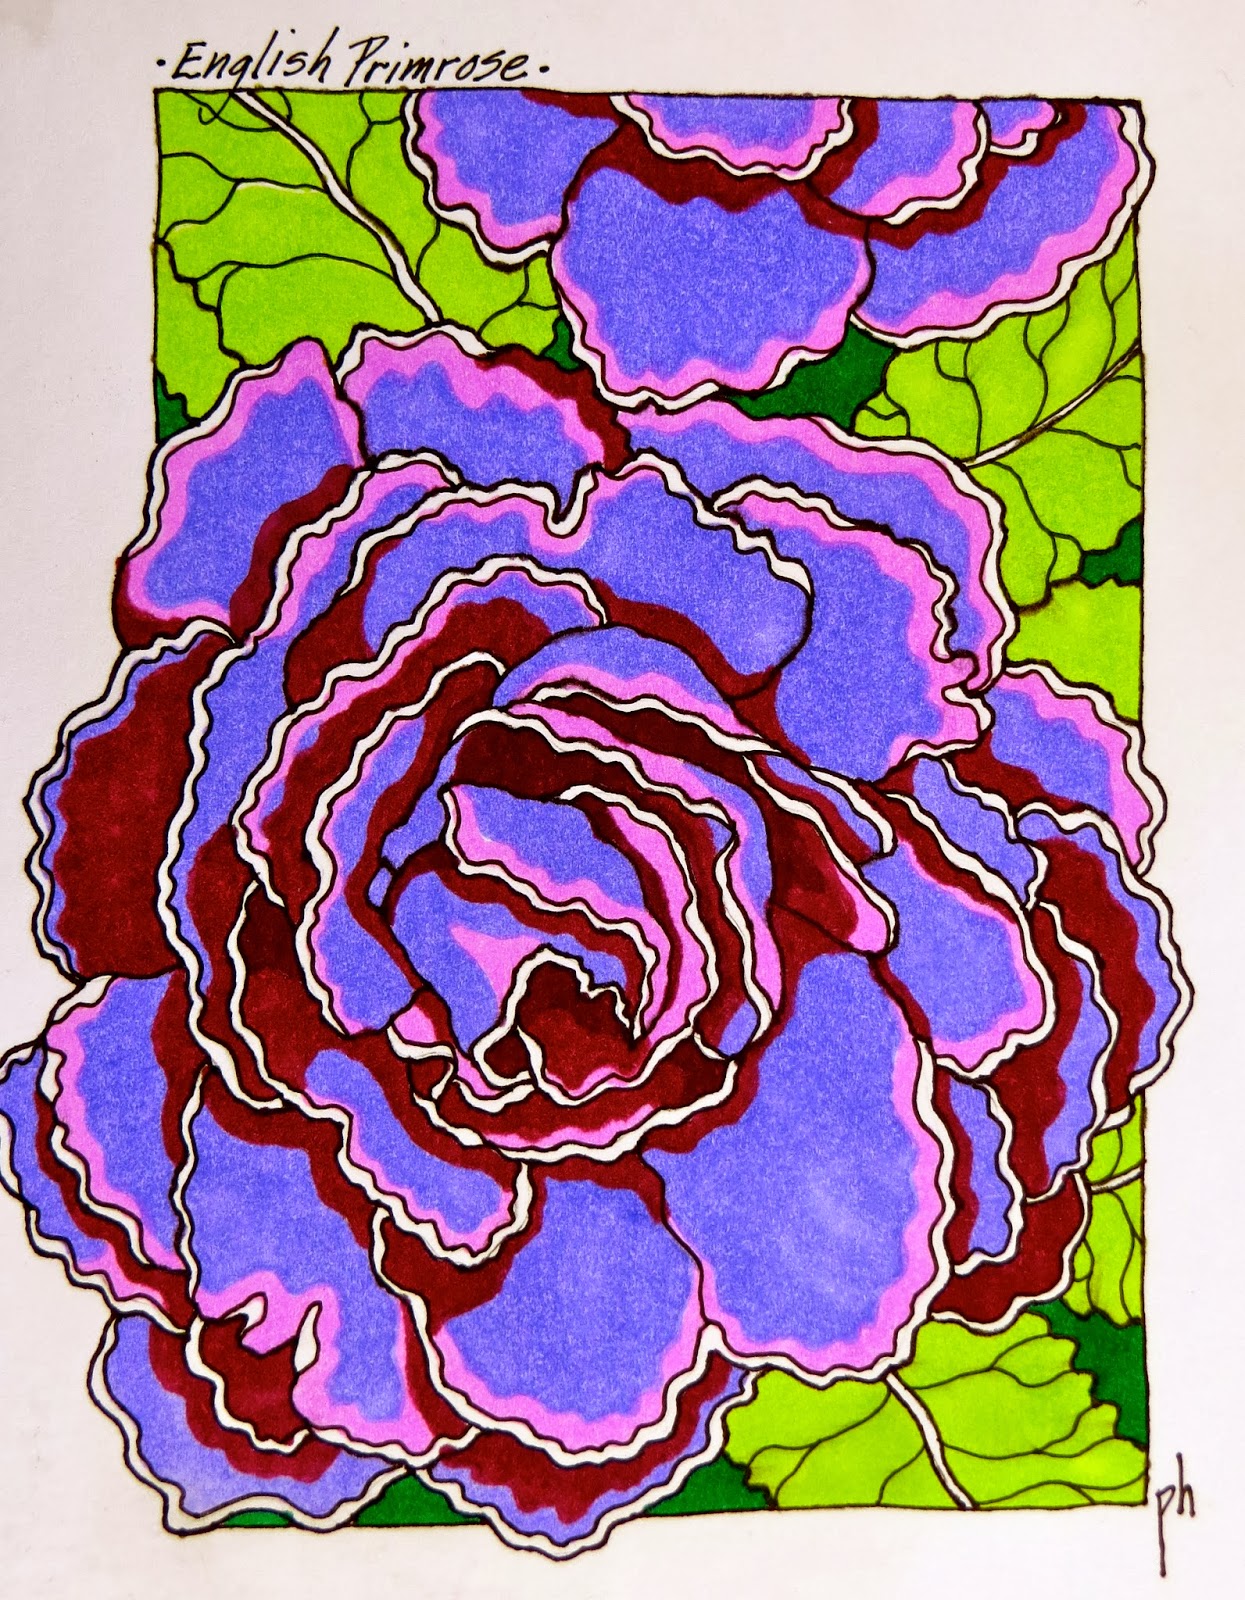
Clean these colors off your palette. Now prep a few colors for your blossoms -- Quinacridone Rose (or Permanent Rose), Quinacridone Magenta (or Permanent Magenta), and Cobalt Blue.
Wet the blossoms with clear water, and drop in those three colors. This should be pretty light.

Using these same three colors, paint your next layer on the Primroses. Work on a petal at a time, wetting the petal first and dropping in the color. Don't paint the frilly edges -- leave them as is, to give the petals some sparkle. Keep the pinks and magentas towards the outer edges, and the blue coming out from the middle. When the petal just starts to dry, "pull" some pink strokes into the middle.


Now, move onto the leaves. Clean off your palette, and then prep two greens -- Sap Green, and a mixture of Sap Green and Cobalt Blue. Use these colors to paint the leaves, a section at a time -- leaving the veins unpainted. To get this pebbly texture, paint these greens on a section, and when it starts to dry, touch the surface with a small damp brush, to lift off dots of color.

Paint just the greens on those leaf shapes that are underneath, without adding the dotted texture. It's easy to get too opaque, when painting with green -- so, be sure to use enough water. You want to "alter" the color you are painting over, not totally cover it up.

To finish the background, add some darks. Mix a dark green by adding French Ultramarine to Sap Green. Paint this dark on a few of the background negative shapes.

To finish the painting, add some darks to the blossoms. Mix a dark purple, using French Ultramarine and Quinacridone Magenta. Use this dark to paint a few "crevice darks" to the middle of each blossom. Add a little water to this dark mixture, and paint a few cast shadows, under some of the petals. (Don't paint cast shadows too dark, or they will look like holes.) You can even use this dark purple to paint a few more darks in the background.

No comments:
Post a Comment